How to add your OneCard to your Apple Wallet
- Ensure you have an approved photo uploaded. https://myphoto.stclaircollege.ca/
Note: The mobile OneCard in Apple Wallet is currently supported on iPhone 6s or later running the latest version of iOS or the Apple Watch Series 1 or later running the latest version of watchOS. - Download the TouchNet 360u app from the App Store.

- Open the TouchNet 360u app.
For the best experience, allow TouchNet to use your location while using this app.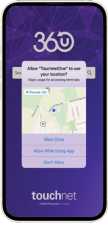
- Enter St. Clair VIP in the search bar. Select continue to access the St. Clair VIP student portal.

- Choose whether to allow TouchNet 360u to use biometric authentication (Face ID / Touch ID).
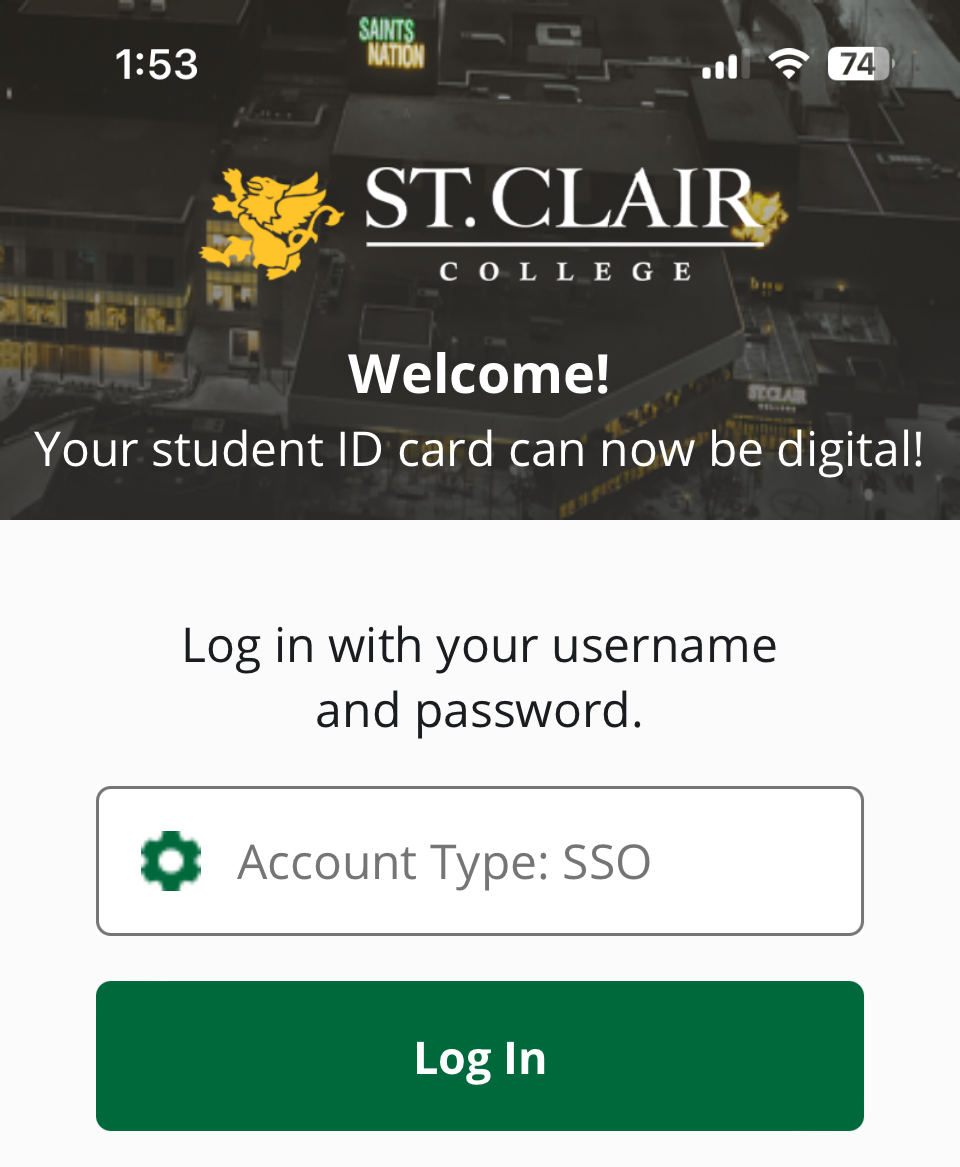
- For Account Type, choose SSO, then click Log In.
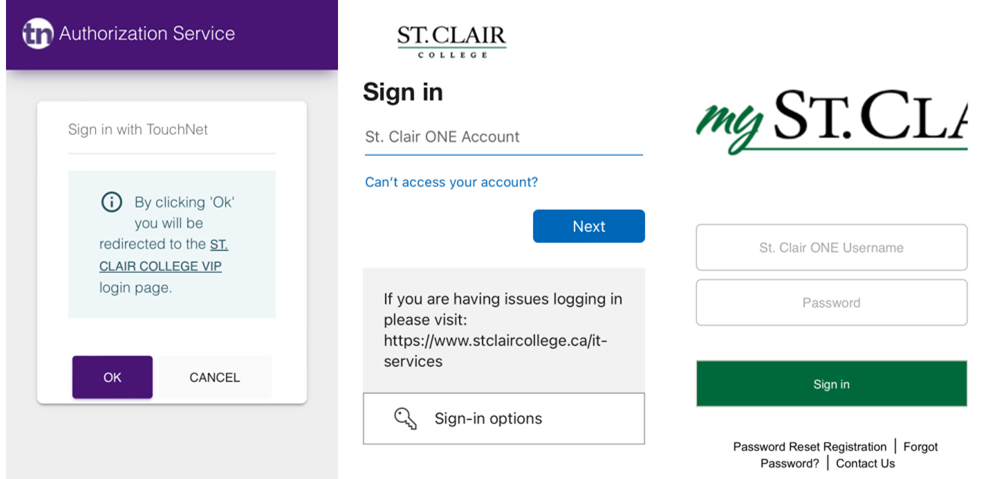
- Click OK to be redirected to St Clair College’s login page (mySt.Clair). Use your St.ClairONE login credentials to access your account.
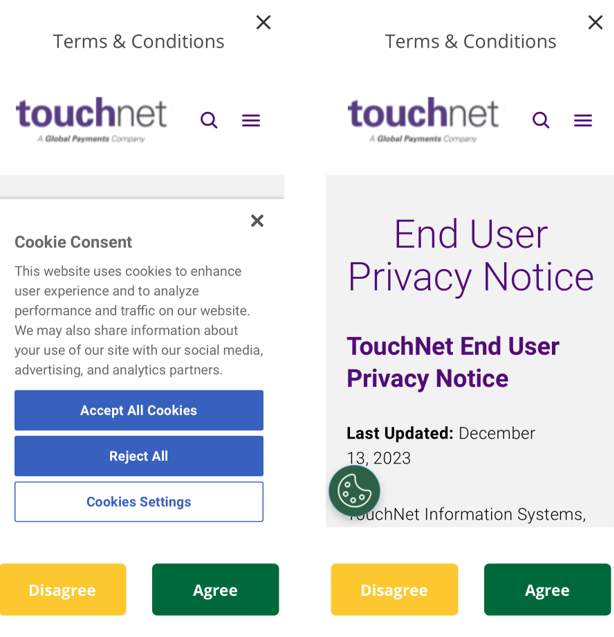
- Accept All Cookies to read the Terms and Conditions, then select Agree to accept and continue.
- Swipe to see the various cards available and select Continue.
You are now logged into the TouchNet 360u app. You'll now be able to manage various aspects of your OneCard account.
Note: This has not added your OneCard to your Apple Wallet. For 'tap' functionality anywhere the OneCard is accepted, add your mobile OneCard to your Apple Wallet by following the steps below. - Tap the icon with your photo at the bottom center.
- Tap the Add to Apple Wallet icon to the right of the iPhone icon.
- Tap Next in the top right-hand corner, then read and agree to the Terms and Conditions.
Note: To add your mobile OneCard to Apple Watch, repeat steps 6 and 7 by tapping Add to Apple Wallet next to the Apple Watch icon.
Your mobile OneCard is now available in your wallet. Express mode is automatically enabled. Tap Done.
Congratulations! Your OneCard in Apple Wallet may now be used for door access, printing, and payments anywhere the OneCard is accepted.